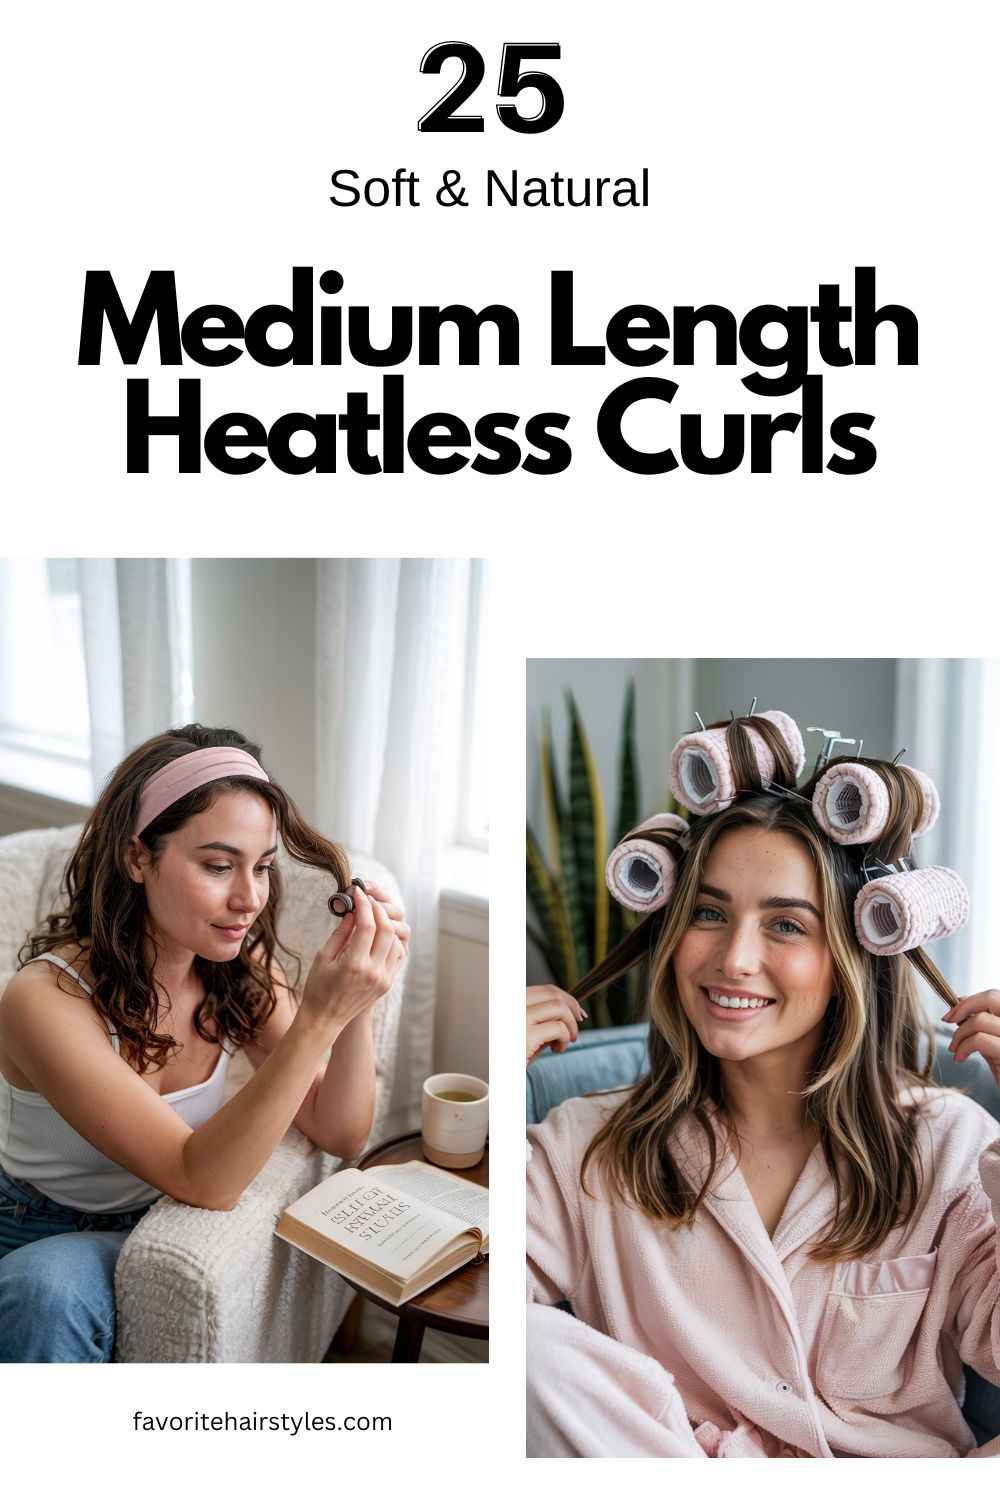
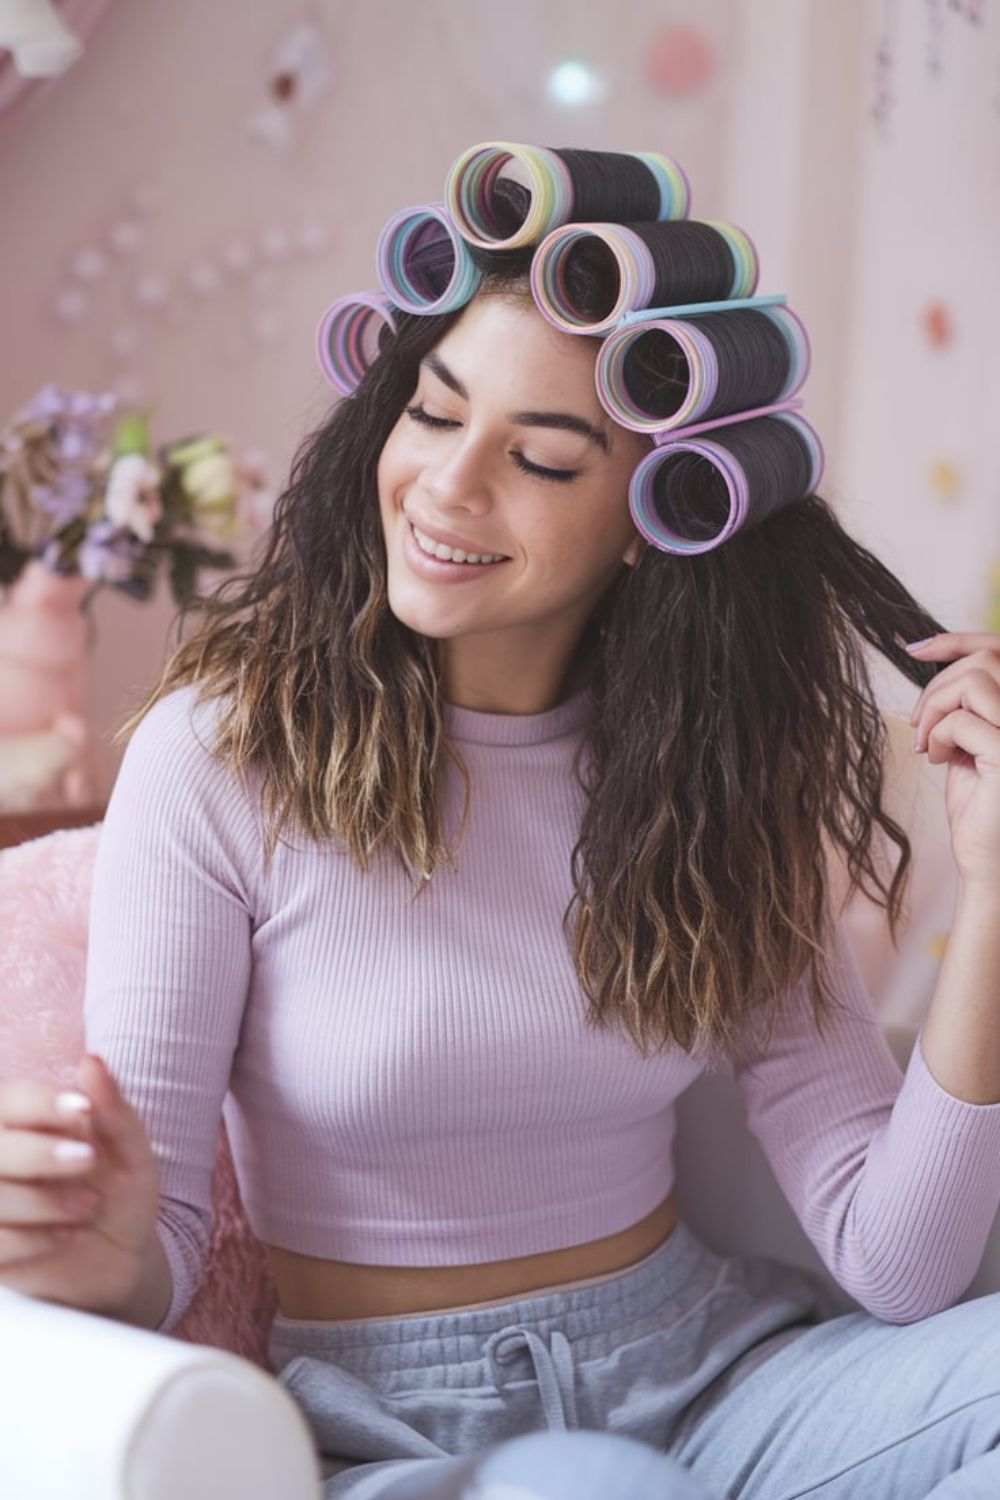
Medium Length Heatless Curls offer a fantastic way to achieve beautiful, bouncy curls without the need for heat styling tools. Whether you’re looking for soft waves or defined curls, heatless methods are not only easy to do but also kinder to your hair. By using natural techniques to create curls, you can maintain the health of your strands while still achieving the voluminous, textured look you desire. The beauty of medium length heatless curls lies in their ability to deliver long-lasting results without causing the damage often associated with traditional curling irons or hot rollers.
Medium Length Heatless Curls
Medium length heatless curls are a simple, damage-free way to achieve beautiful, bouncy curls without using heat styling tools. These curls are perfect for creating long-lasting, natural-looking waves or defined curls while maintaining healthy hair.
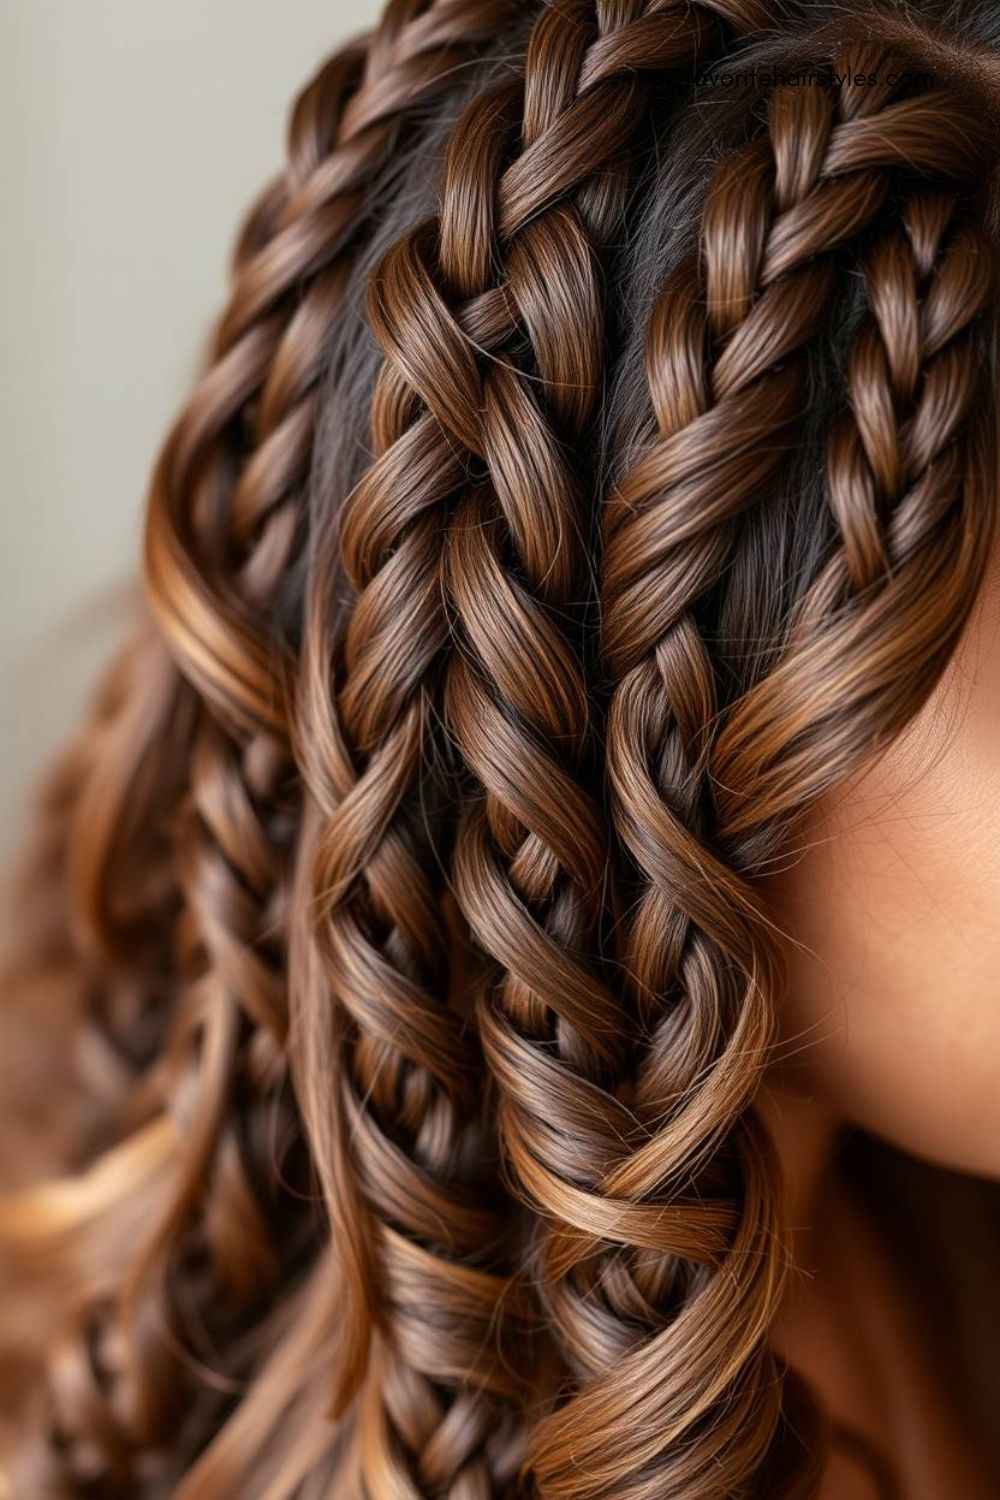
Overnight Braids
Materials Needed:
-
Hair tie or scrunchies
-
Leave-in conditioner or styling cream
Steps:
-
Start with damp, clean hair and apply a leave-in conditioner or styling cream for extra definition.
-
Divide your hair into two to four sections depending on the volume you want.
-
Braid each section tightly and secure the ends with a hair tie or scrunchy.
-
Sleep overnight with the braids in place.
-
In the morning, undo the braids gently and shake out the curls with your fingers for a natural, beachy look.
Twist and Pin Method
Materials Needed:
-
Hair clips or bobby pins
-
Curl cream or mousse
Steps:
-
Start with damp, clean hair and apply a curl cream or mousse to enhance curl definition.
-
Divide your hair into small sections.
-
Twist each section tightly and pin it to your scalp using bobby pins or hair clips.
-
Let your hair air dry for several hours or overnight.
-
Once dry, remove the pins and gently separate the twists with your fingers to reveal soft, voluminous curls.
Headband Curls
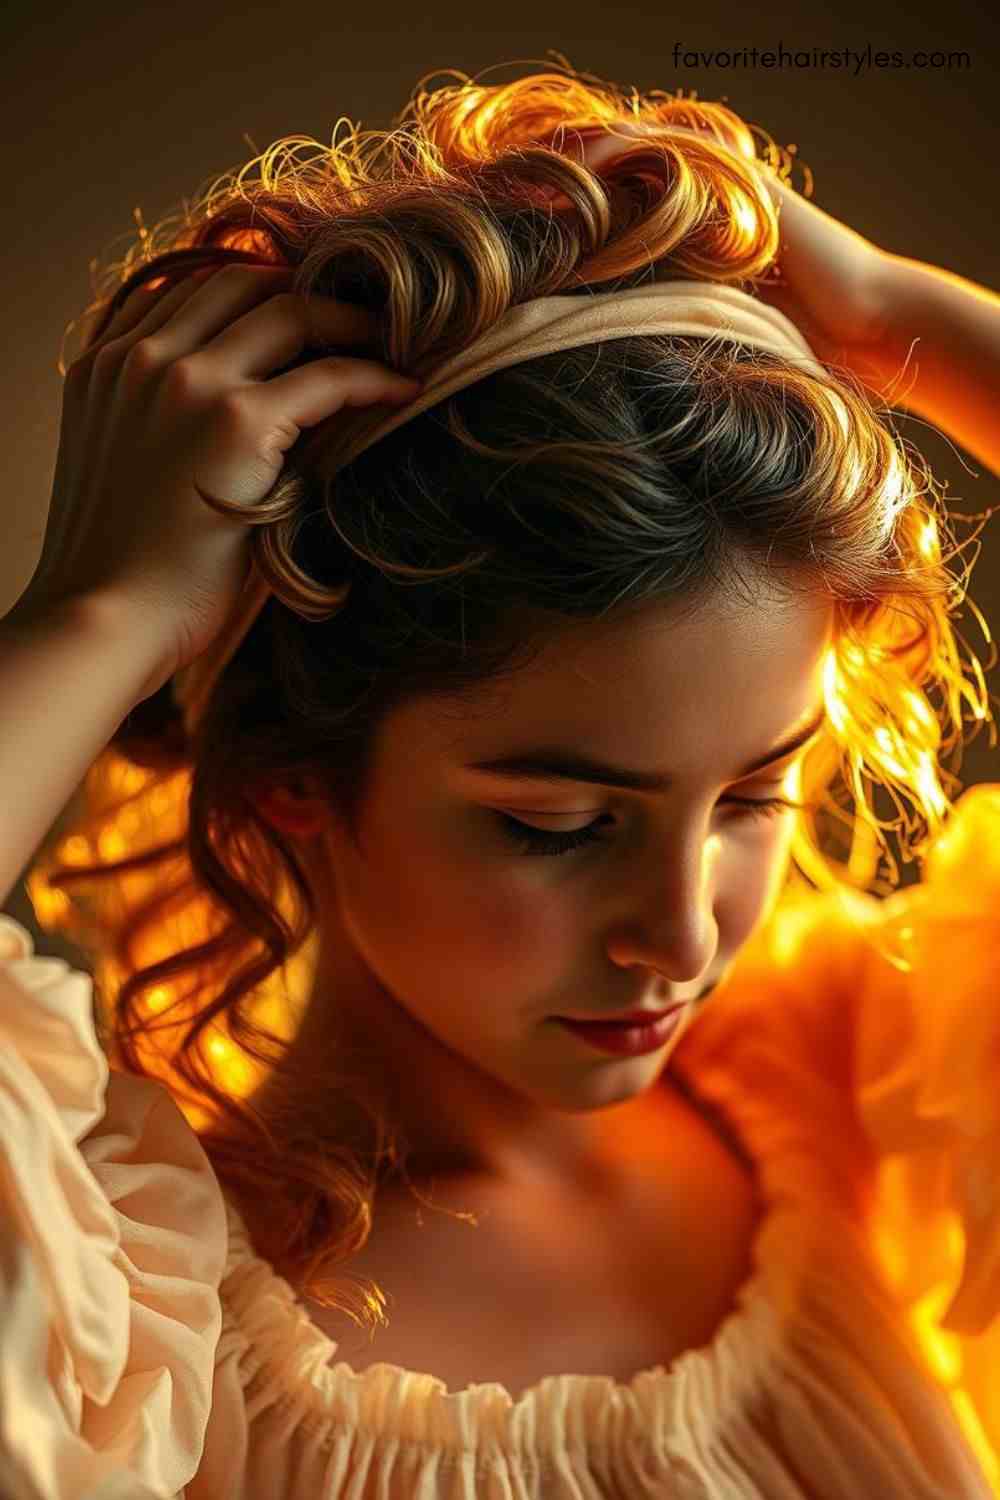
Materials Needed:
-
Soft headband or fabric headband
-
Hair clips
-
Leave-in conditioner or mousse
Steps:
-
Apply a leave-in conditioner or mousse to damp hair.
-
Place a soft headband over your head, sitting just above your ears.
-
Starting from the front, wrap small sections of hair around the headband, tucking them underneath.
-
Continue wrapping the rest of your hair around the headband.
-
Leave it in place for a few hours or overnight. Once removed, your hair will be full of loose, defined curls.
Flexi-Rod Curls
Materials Needed:
-
Flexi-rods (medium size)
-
Styling gel or cream
Steps:
-
Start with damp, clean hair and apply a styling gel or cream to each section.
-
Take a small section of hair and wrap it around a flexi-rod, bending the rod to hold the curl in place.
-
Repeat for all sections of your hair.
-
Leave the rods in for a few hours or overnight.
-
Gently remove the flexi-rods and finger-comb the curls to separate them for a soft, bouncy look.
Sock Curls
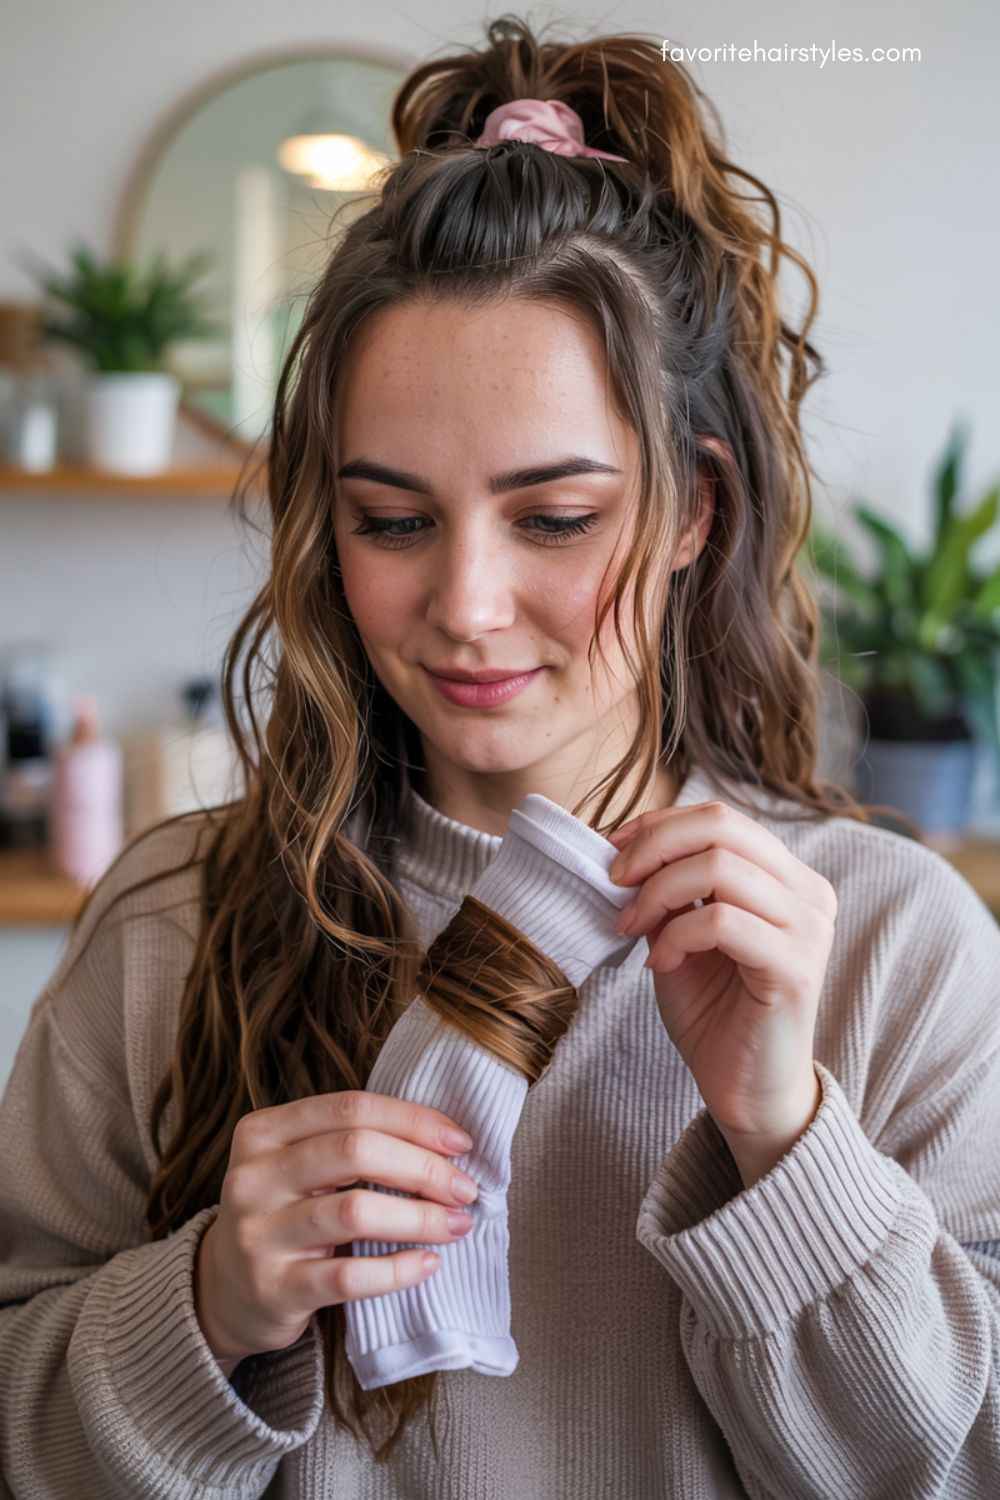
Materials Needed:
-
A clean sock
-
Hair tie or scrunchy
-
Mousse or styling cream
Steps:
-
Apply mousse or styling cream to damp hair to help define the curls.
-
Roll a clean sock into a doughnut shape.
-
Take a small section of hair and wrap it around the sock from the tips to the roots.
-
Secure the sock with a hair tie or scrunchy.
-
Leave the sock in overnight or for a few hours to allow curls to form.
-
Once removed, shake out the curls for a fun, voluminous look.
Bantu Knots
Materials Needed:
-
Hair ties or clips
-
Styling cream or gel
Steps:
-
Apply styling cream or gel to damp hair for extra hold.
-
Divide your hair into sections based on how tight or loose you want the curls.
-
Twist each section of hair and wrap it around itself to form a knot at the root.
-
Secure each knot with a hair tie or clip.
-
Leave the knots in for several hours or overnight.
-
Once removed, untwist the knots gently to reveal tight, defined curls.
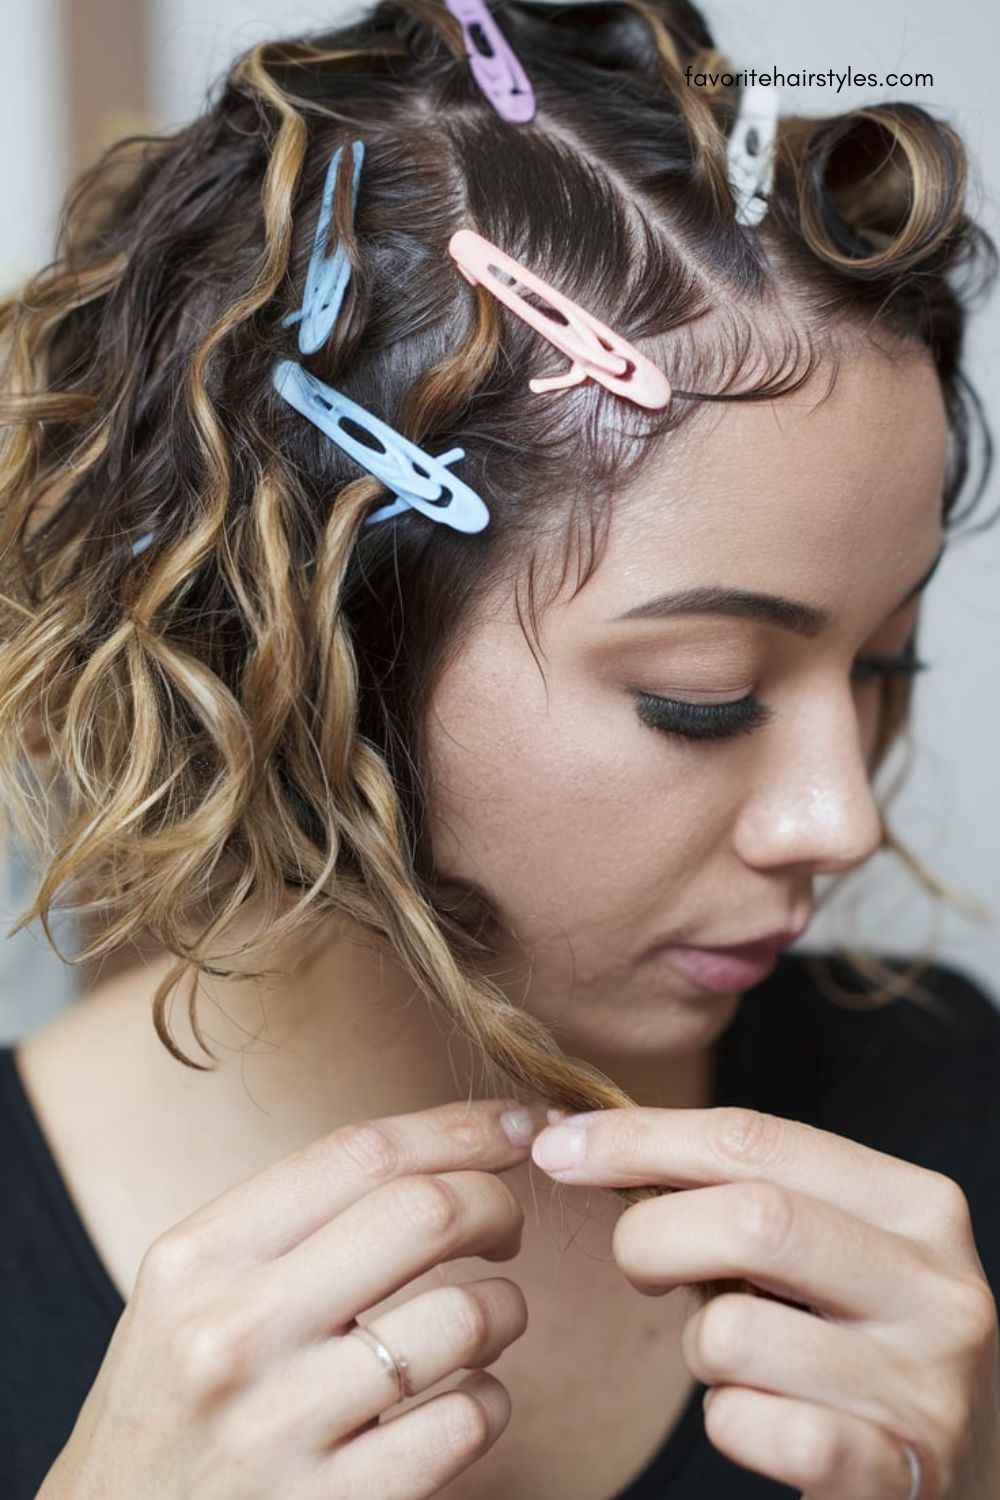
Pin Curls
Materials Needed:
-
Bobby pins or hair clips
-
Hair spray or setting lotion
Steps:
-
Apply setting lotion or hair spray to damp hair.
-
Take small sections of hair and roll them into tight curls.
-
Pin each curl to your scalp using bobby pins or clips.
-
Allow the curls to set for a few hours or overnight.
-
Once the pins are removed, gently separate the curls with your fingers to create a soft, vintage-inspired look.
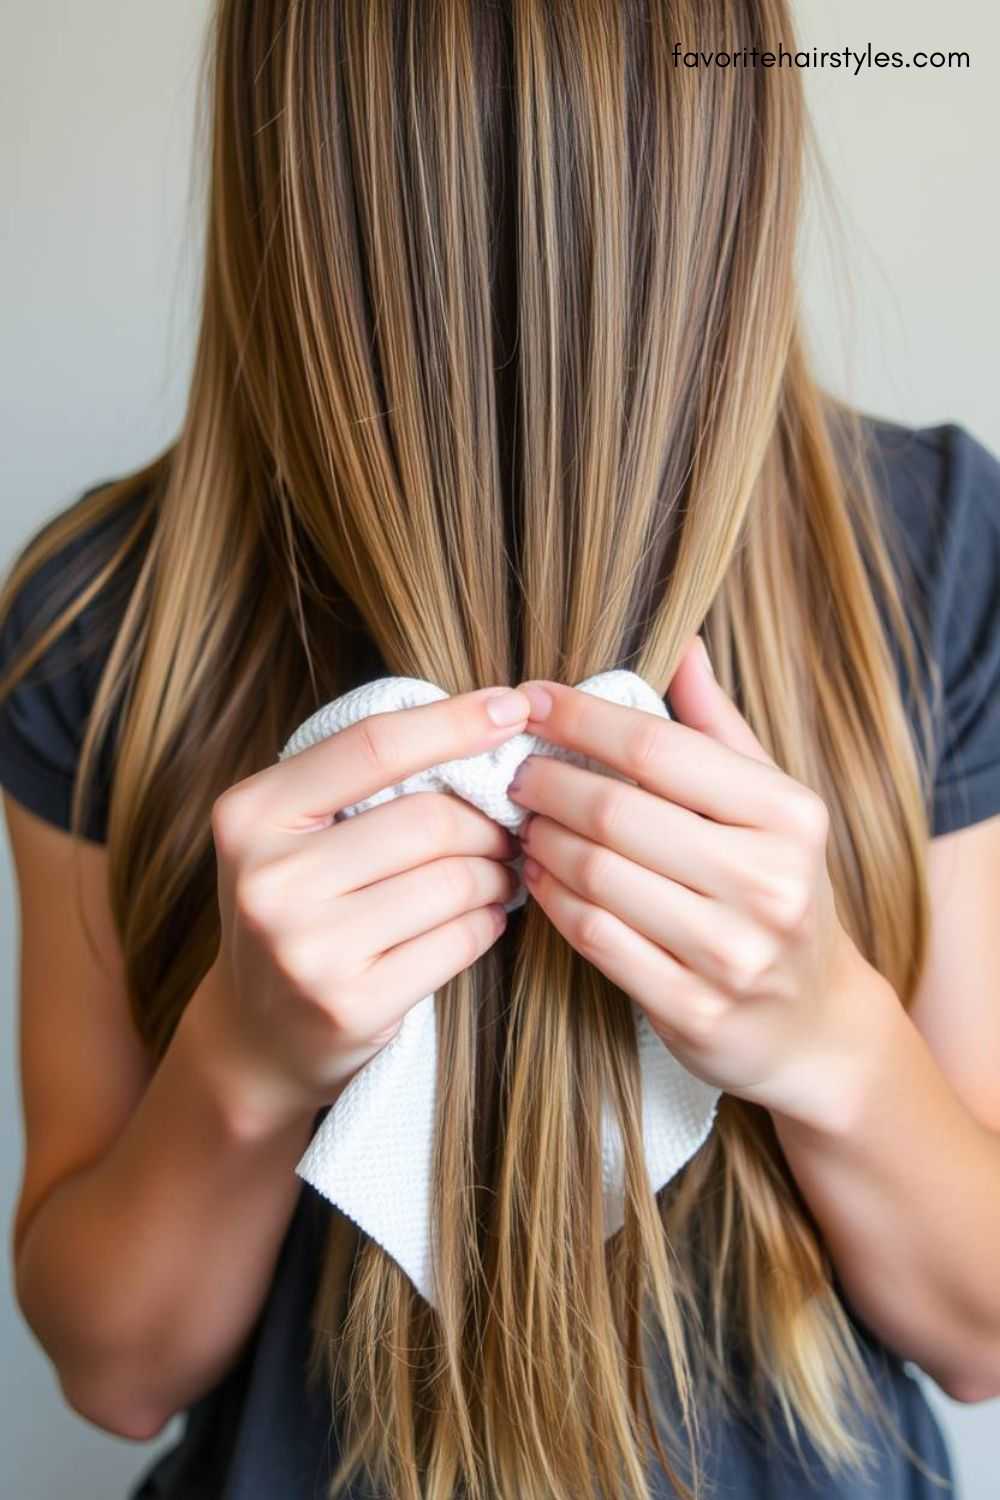
The Paper Towel Method
Materials Needed:
-
Paper towels or toilet paper
-
Hair clips
-
Curl cream
Steps:
-
Apply curl cream to damp hair to help define curls.
-
Take a paper towel and wrap it around a small section of hair.
-
Twist the paper towel around the section, then tie the ends to secure the curl in place.
-
Repeat with the rest of your hair.
-
Leave the paper towels in place for a few hours or overnight. Once removed, you’ll have defined, bouncy curls.
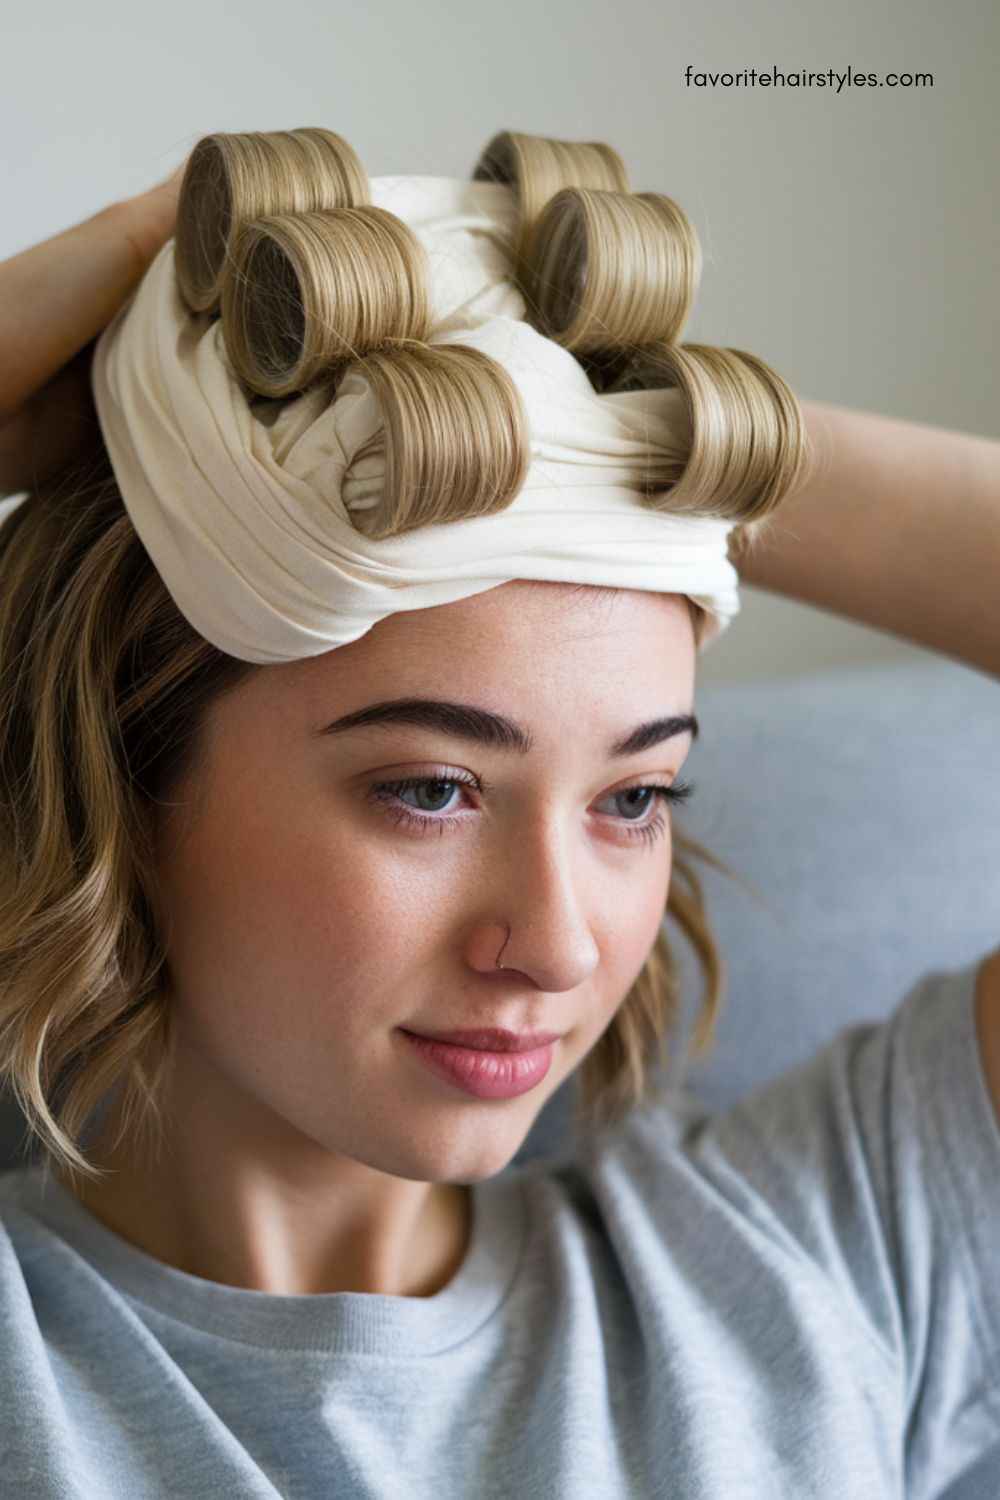
Headband Roll Method
Materials Needed:
-
Soft fabric headband
-
Leave-in conditioner or mousse
Steps:
-
Apply a leave-in conditioner or mousse to damp hair for added texture and hold.
-
Place a soft fabric headband on your head, sitting just above your forehead.
-
Take small sections of hair and roll them around the headband, securing each section as you go.
-
Leave the headband in place for a few hours or overnight.
-
Once you remove the headband, your hair will have soft, voluminous curls with minimal effort.
T-Shirt Method
Materials Needed:
-
A soft cotton T-shirt
-
Hair tie
Steps:
-
Start with damp hair and apply a curl cream or mousse.
-
Lay a soft cotton T-shirt on a flat surface.
-
Take a section of hair and place it at the edge of the T-shirt, then roll the T-shirt around your hair.
-
Tie the T-shirt at the ends to secure the curls.
-
Leave it in place for a few hours or overnight. Once removed, you’ll have soft, natural curls that are full of volume.
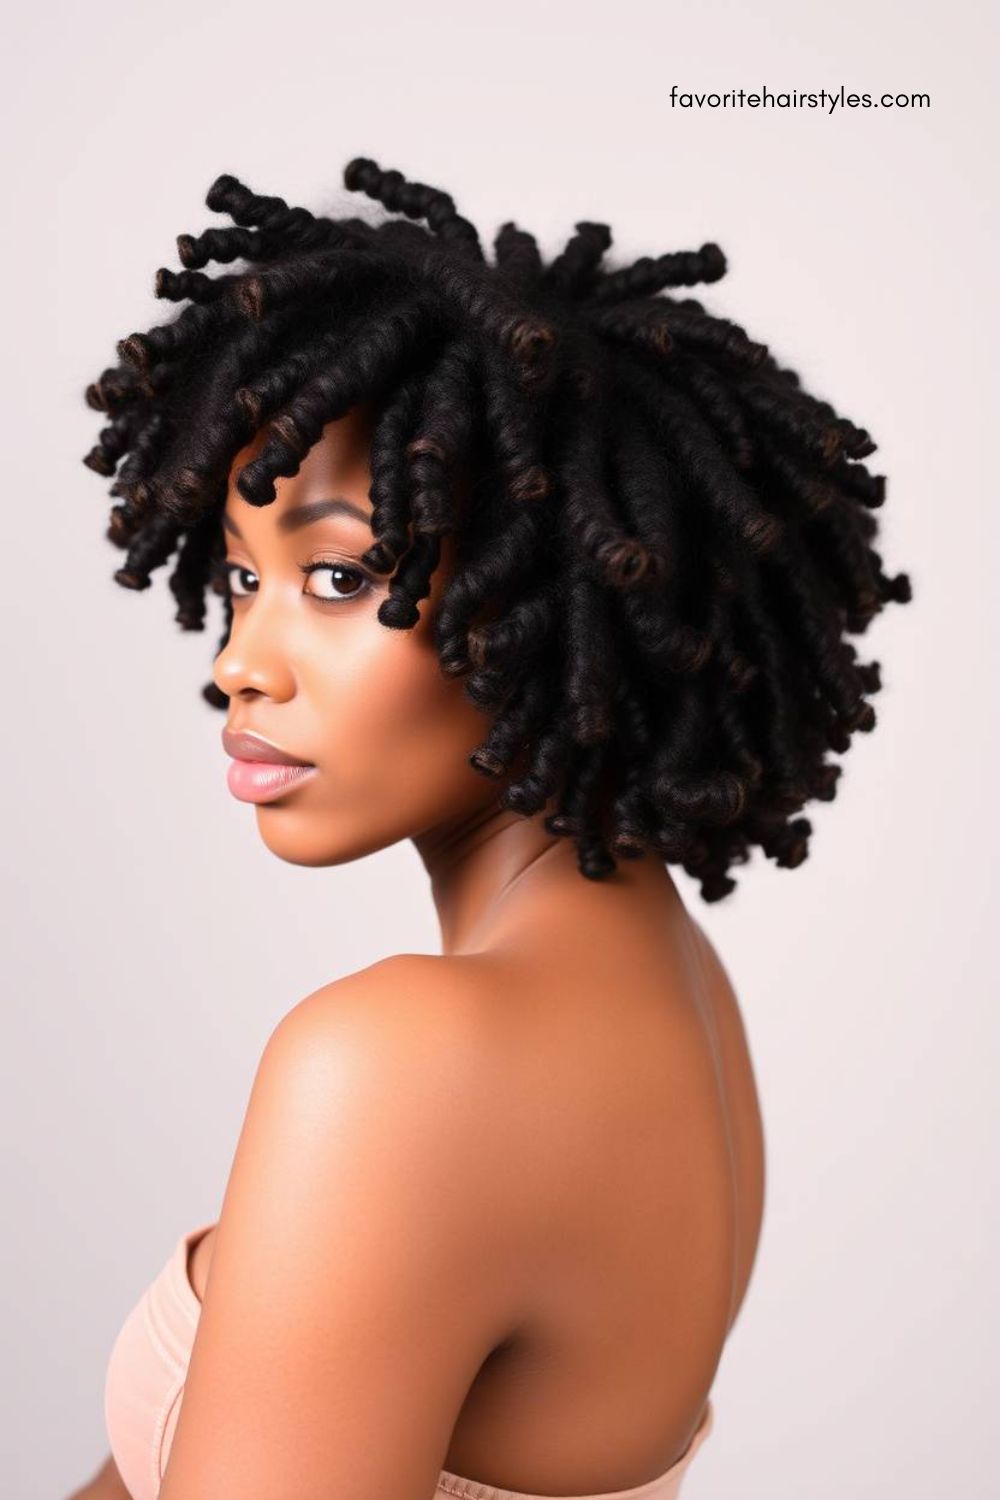
Each of these methods offers a unique way to achieve medium length heatless curls that can last for days, giving you gorgeous curls while keeping your hair healthy and damage-free!
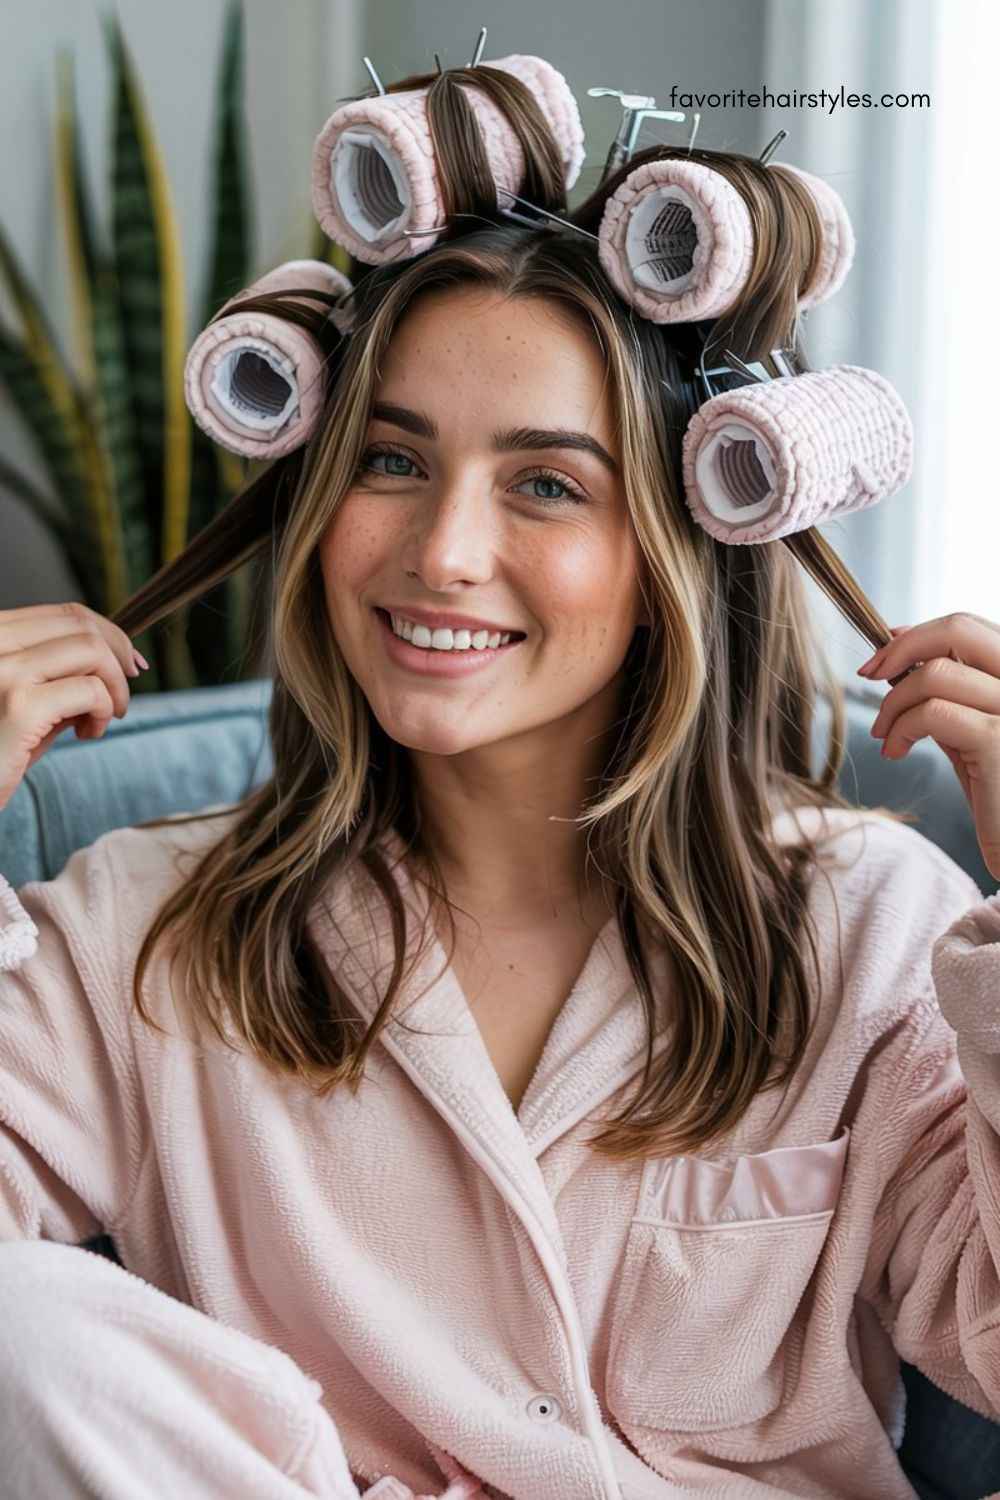
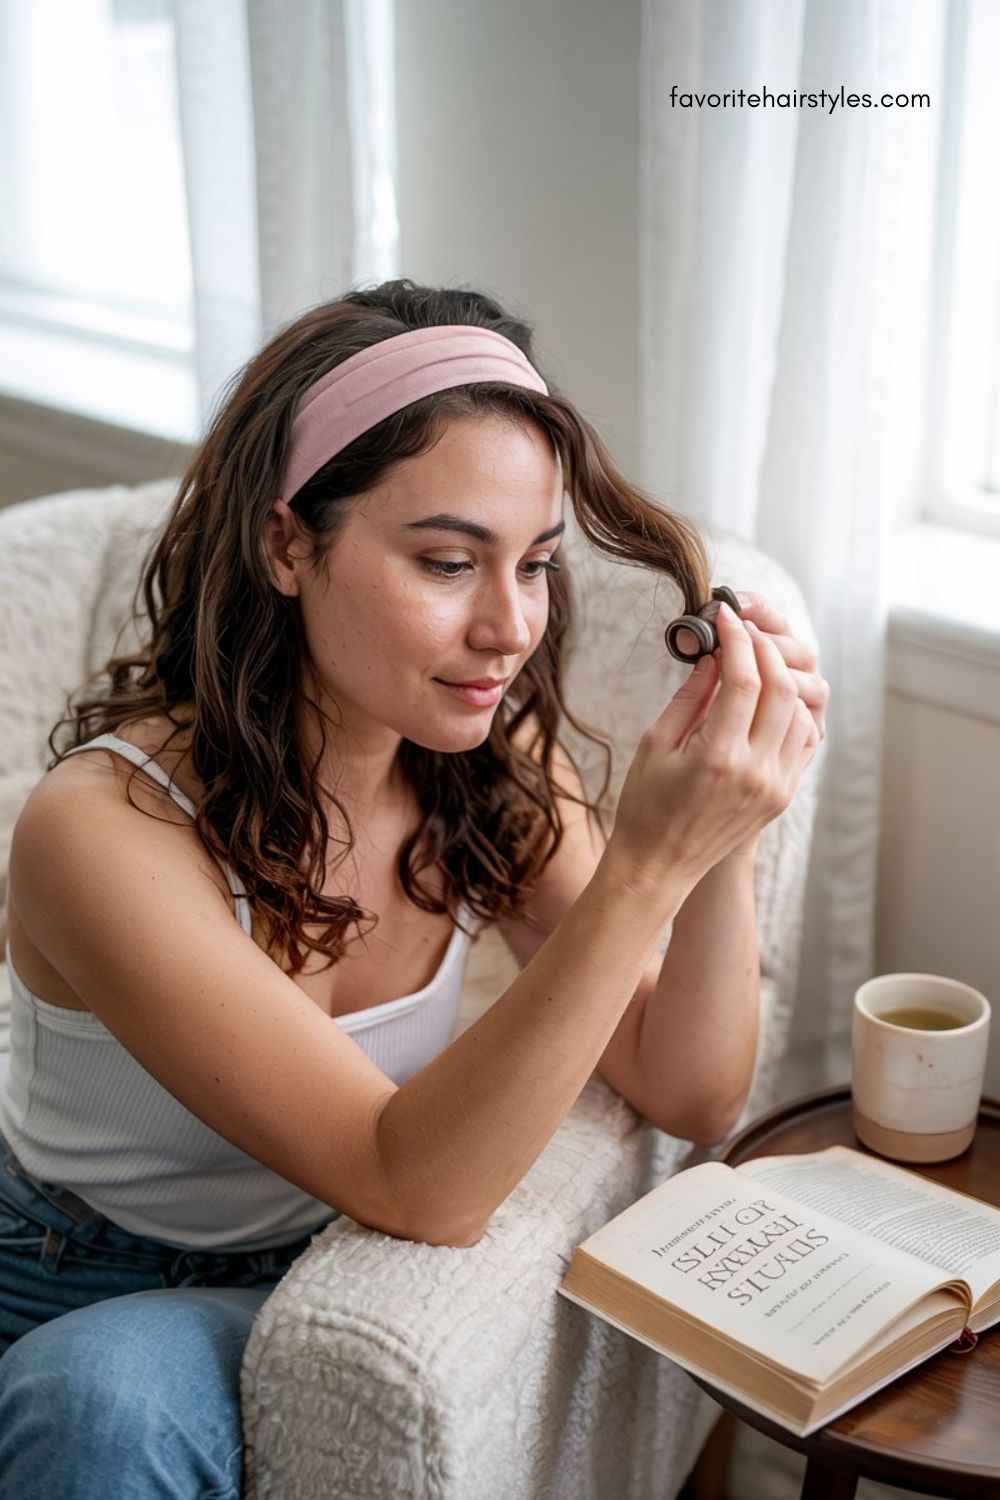
Tips for Perfecting Heatless Curls
Achieving the perfect set of heatless curls requires a few key techniques to ensure they last, stay defined, and remain frizz-free. Here are some expert tips to help you get the most out of your heatless curls, no matter the method you choose. These steps will keep your curls looking fresh, defined, and beautiful throughout the day.
-
How to Ensure Curls Last Longer:
-
Start with damp hair: Curls hold better when your hair is slightly damp, so avoid starting with overly wet hair, as it can make the curls loose.
-
Use a setting product: Apply a curl-enhancing mousse or gel to damp hair before styling to give curls extra hold.
-
Don’t disturb the curls too soon: Allow your curls to fully set and dry before separating or touching them. The longer they dry in place, the longer they’ll last.
-
Avoid touching your curls: Once your curls have formed, try to avoid running your fingers through them too much, as this can break up the curl and cause them to fall quicker.
-
Sleep on it: For the most long-lasting curls, sleep with your curls in place overnight (if using an overnight method) to ensure they last well into the next day.
-
-
Avoiding Frizz and Maintaining Curl Definition:
-
Use anti-frizz products: After applying your curl product, consider using an anti-frizz serum or oil to keep hair smooth and frizz-free.
-
Keep your curls hydrated: Dry hair is more likely to frizz. Use a hydrating leave-in conditioner or hair oil to lock in moisture and prevent unwanted frizz.
-
Avoid touching your hair too much: Constantly running your fingers through your curls will break them up and create frizz. Try to limit touching until you’re ready to style.
-
Dry hair properly: Avoid rubbing your hair with a towel after washing, as this can lead to frizz. Instead, pat or scrunch your hair with a soft microfiber towel or T-shirt to remove excess water.
-
Sleep on a silk or satin pillowcase: Cotton pillowcases can cause friction and lead to frizz, but silk or satin will keep your curls smooth and defined overnight.
-
-
Styling and Finishing Touches (Hair Sprays, Oils, etc.):
-
Use a light-hold hairspray: Once your curls are set, apply a light-hold hairspray to lock them in place without making them stiff or crunchy.
-
Apply a finishing serum or oil: To add shine and tame flyaways, use a small amount of hair oil or serum. Focus on the ends of your hair to prevent greasy roots.
-
Avoid heavy products: While oils are great, avoid using heavy creams or styling gels that can weigh down the curls and make them limp.
-
Define individual curls: If any curls need a little extra definition, gently twist or scrunch them with your fingers to enhance the shape and bounce.
-
Refresh with a curl refresher spray: On the second day, use a curl-refreshing spray or a bit of water to reactivate and redefine your curls without needing to restyle.
-
By following these tips, you can perfect your heatless curls, ensuring they stay fresh, defined, and frizz-free for longer periods. Whether for everyday wear or a special occasion, these steps will help you get the most out of your curl routine.
FAQ
How long do heatless curls last on medium-length hair?
Heatless curls can last anywhere from 1-3 days, depending on your hair type, the method used, and the products applied. To make them last longer, avoid touching your curls and use a light-hold hairspray to keep them in place.
Can I do heatless curls on dry hair?
While it’s best to start with damp hair for maximum curl definition and longevity, you can do heatless curls on dry hair. Just be sure to use a good curl cream or mousse to help with hold and definition.
What products should I use for heatless curls?
Use a curl cream, mousse, or light-hold gel to help define your curls. For added moisture and frizz control, a leave-in conditioner or anti-frizz serum can be applied before styling. A light-hold hairspray can also help set the curls without making them crunchy.
Can I sleep in my heatless curls overnight?
Yes! In fact, many heatless curl methods, like braids, twists, and headband curls, work best when left overnight. This allows the curls to set and last longer. Just make sure your hair is secured properly to avoid discomfort while sleeping.