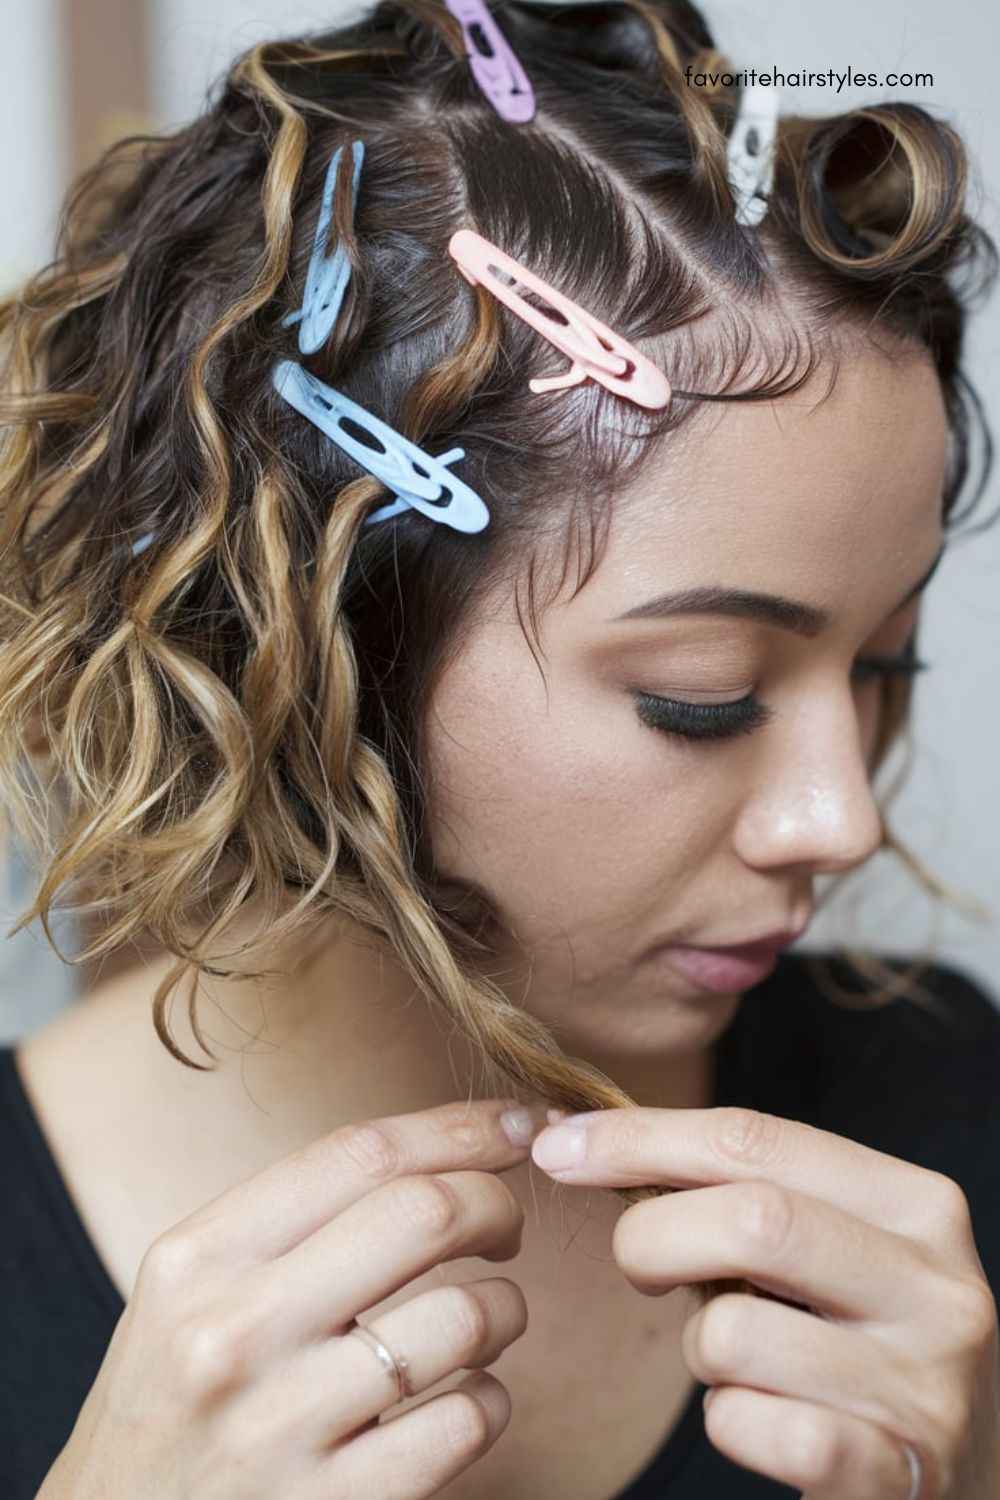
Heatless curls for short hair have become a popular and innovative way to achieve stunning, bouncy curls without the need for hot tools like curling irons or straighteners. This technique relies on alternative methods such as braids, twists, or foam rollers to create beautiful curls, making it a great option for those who want to avoid heat styling. Heatless Curls for Short Hair are particularly beneficial because they offer a variety of curl options while maintaining the integrity of your hair.
Heatless Curls for Short Hair
Heatless curls for short hair offer a damage-free way to achieve beautiful, bouncy curls without using hot styling tools. Perfect for maintaining healthy hair, these techniques create stunning curls with minimal effort.
Flexi Rods
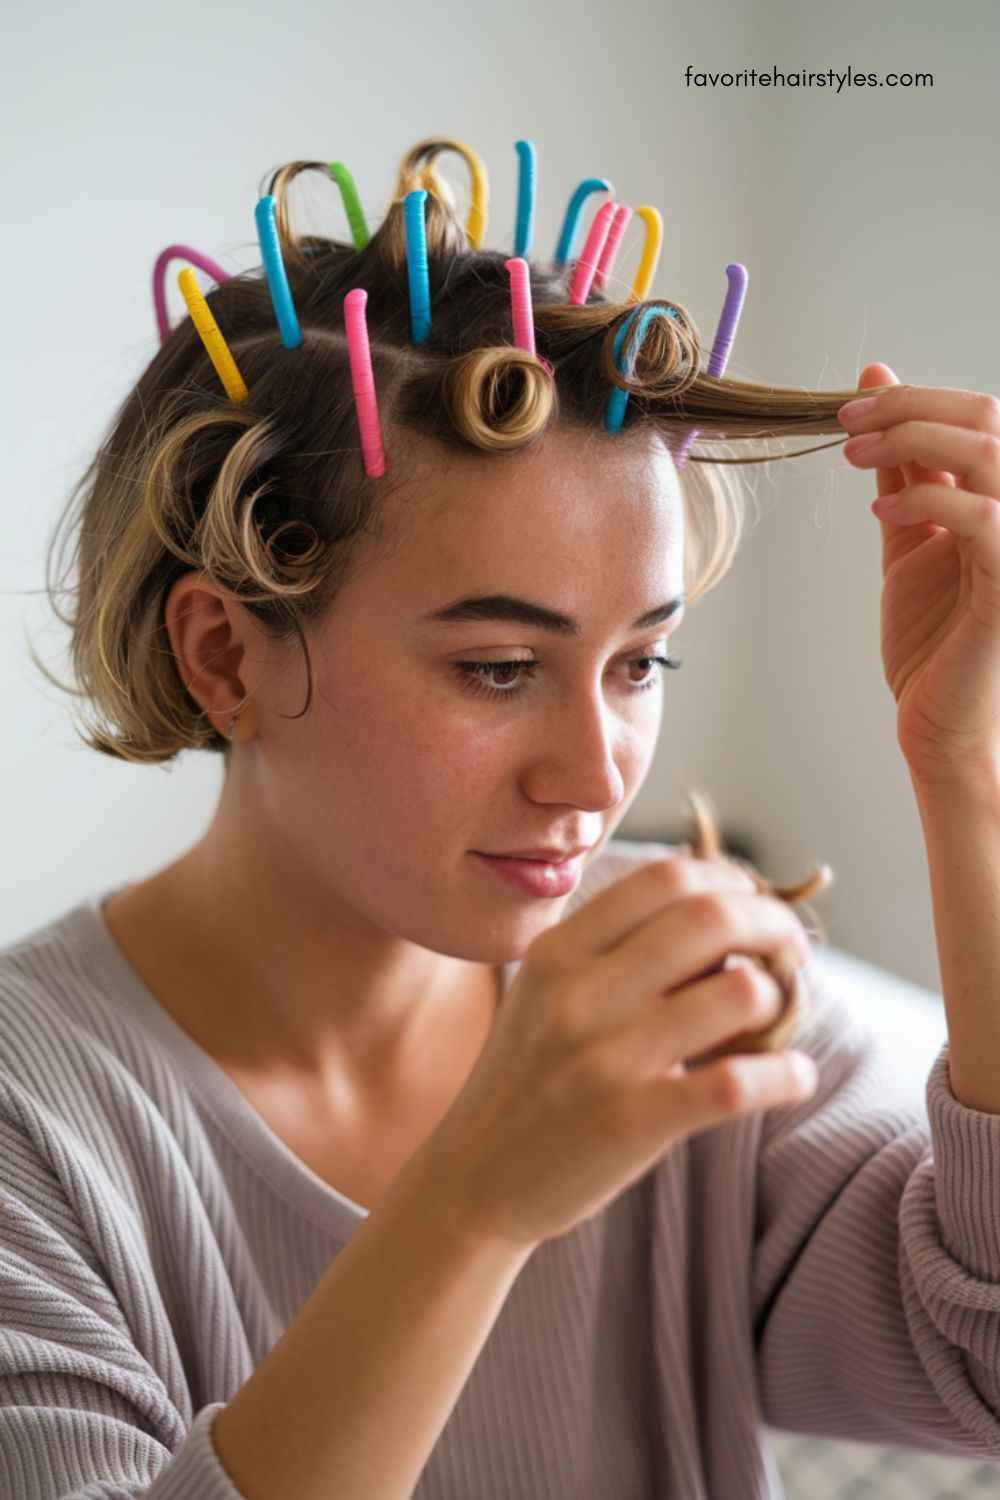
Material Used: Flexi rods
Steps:
-
Start with slightly damp hair.
-
Divide your hair into small sections.
-
Take one section and wrap it around the flexi rod, rolling it from the tips up to the roots.
-
Bend the ends of the flexi rod to secure it in place.
-
Repeat for the rest of your hair, leaving the rods in for at least 2-3 hours or overnight for more defined curls.
-
Gently remove the flexi rods and separate the curls with your fingers for a voluminous look.
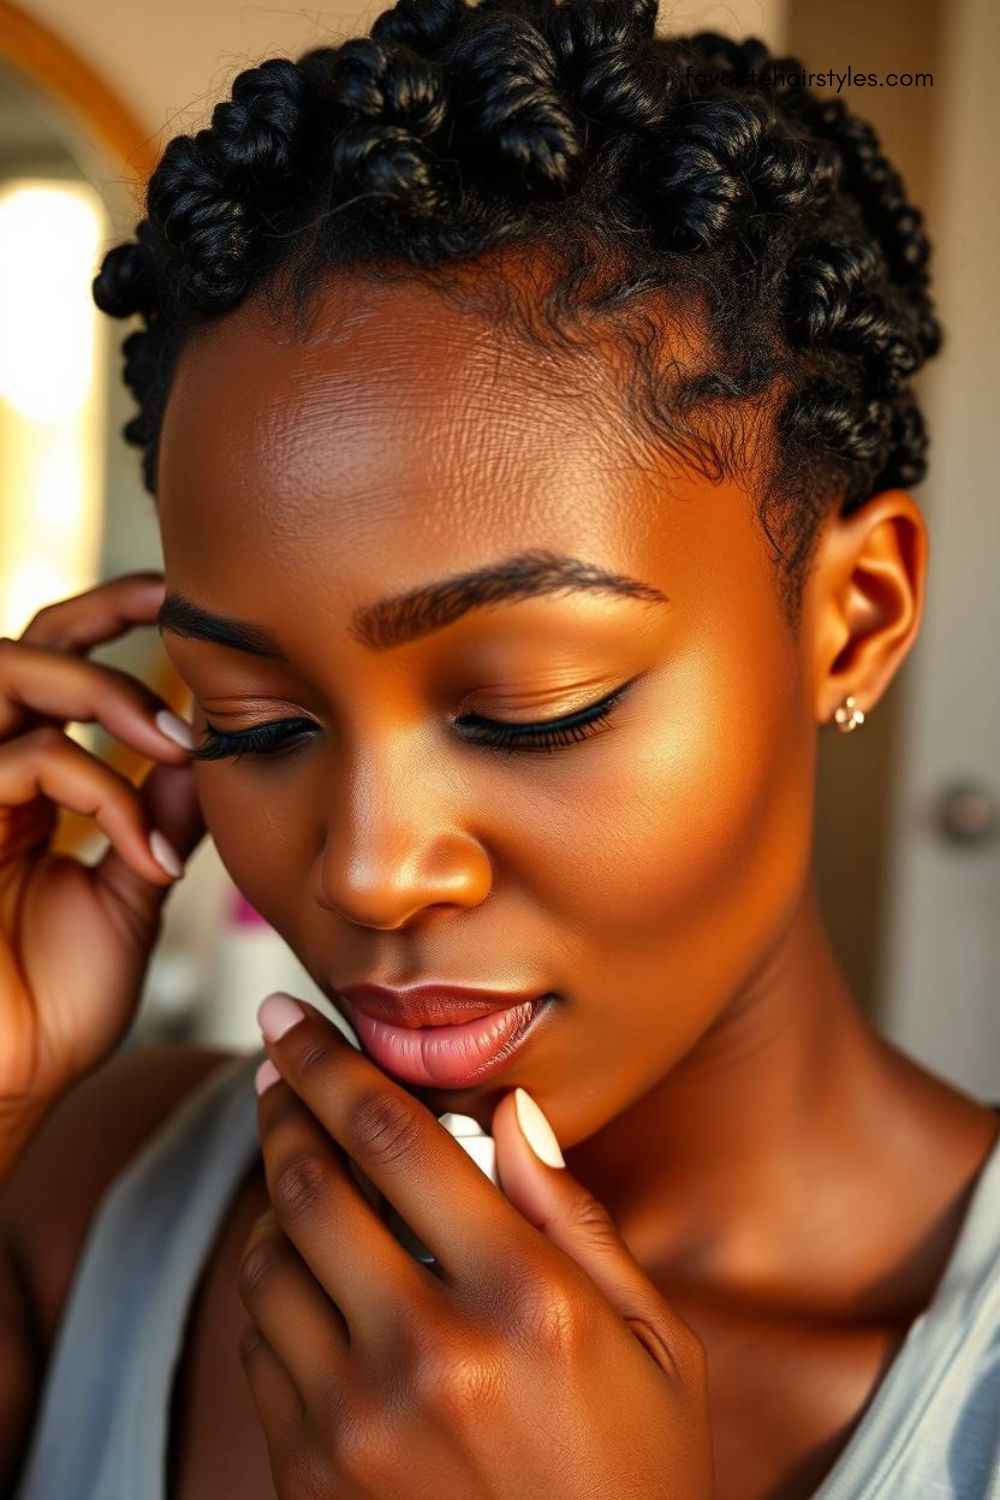
Bantu Knots
Material Used: Hair ties, styling cream or mousse
-
Start with damp hair and apply a lightweight styling cream or mousse for better hold.
-
Section your hair into small, even parts.
-
Twist each section of hair tightly and then coil it into a small knot close to your scalp.
-
Secure each knot with a hair tie.
-
Let your hair air dry or leave the knots in overnight.
-
Unravel the knots in the morning, fluff with your fingers, and enjoy defined curls.
Headband Method
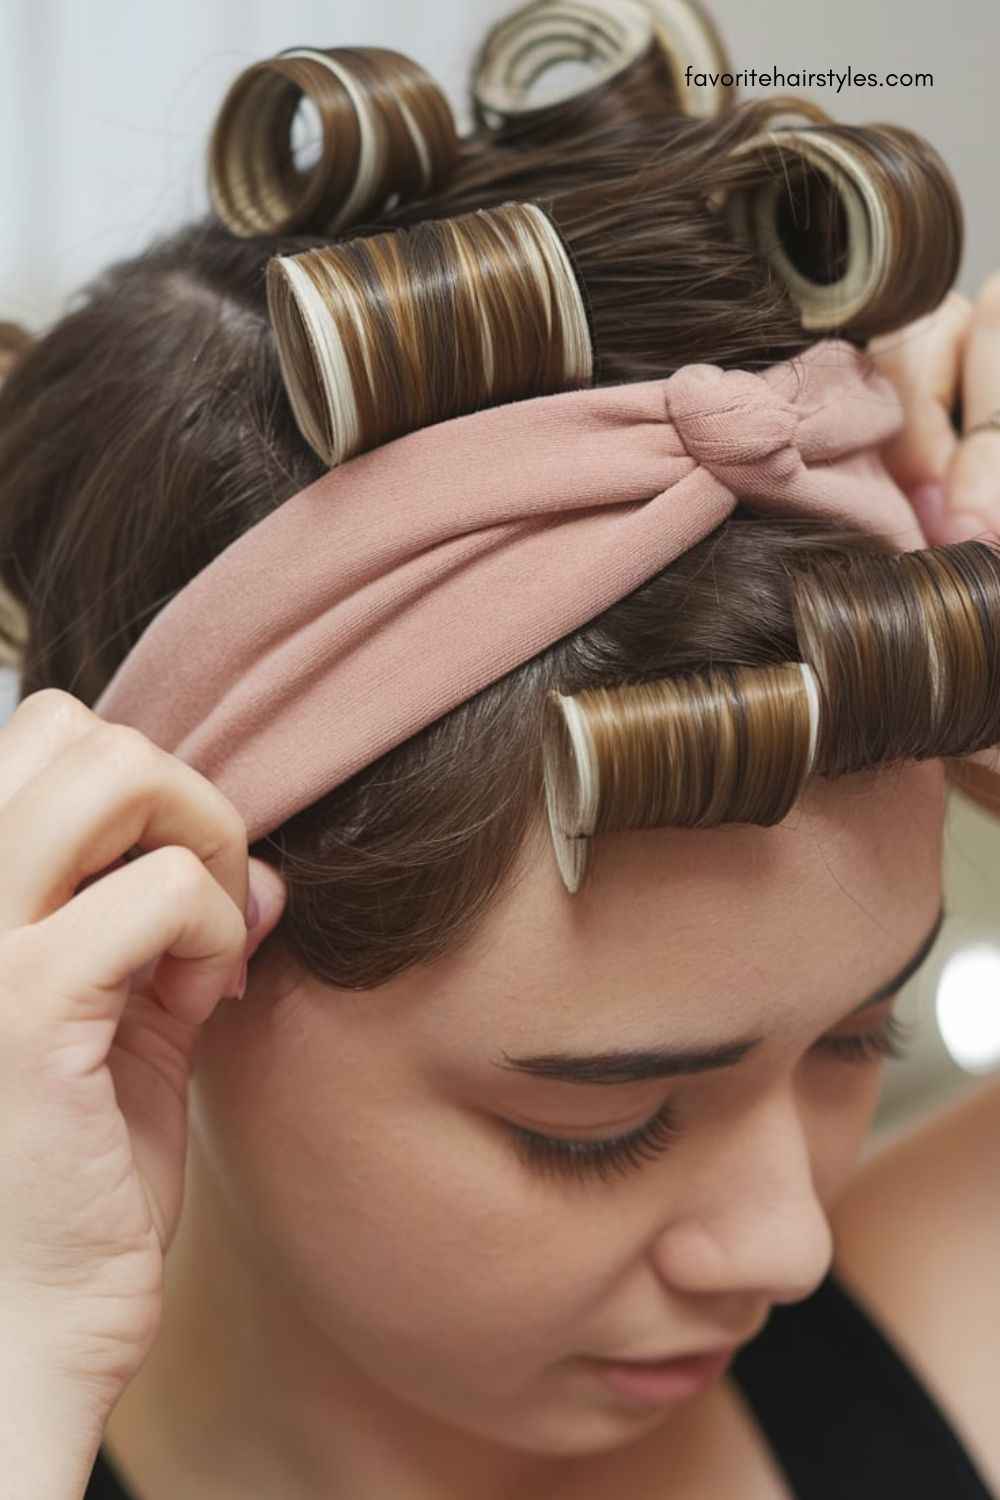
Material Used: Soft headband or scarf
Steps:
-
Place a soft headband around your head like a crown.
-
Take a section of hair and wrap it around the headband, tucking it underneath.
-
Continue wrapping your hair around the band, working your way around your head.
-
Leave the headband in for a few hours or overnight.
-
Once removed, gently pull apart the curls for a natural wave.
Twist and Pin
Material Used: Hair clips, hair mousse or gel
Steps:
-
Begin with damp hair and apply mousse or gel to create hold.
-
Divide your hair into small sections.
-
Twist each section tightly and pin it to your scalp using hair clips.
-
Allow the twists to set for a few hours or overnight.
-
Unpin the twists and finger-comb through your hair to reveal voluminous curls.
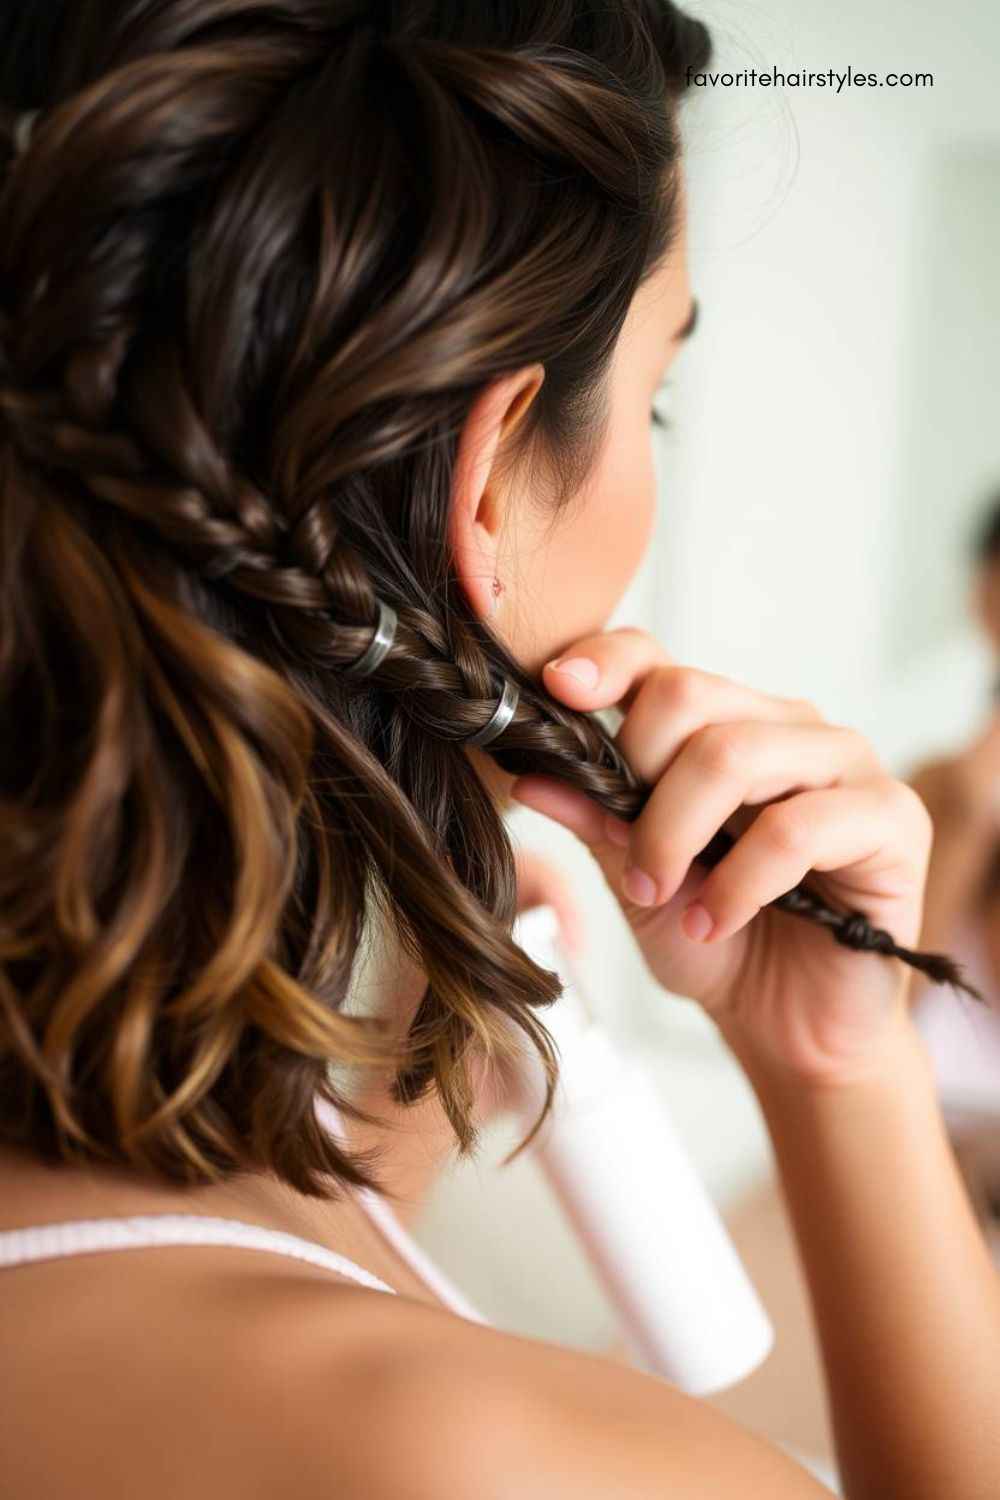
Braiding Method
Material Used: Hair ties, light styling cream or serum
-
Start with slightly damp hair and apply a styling cream to help with curl definition.
-
Braid your hair into multiple sections, adjusting the tightness for looser or tighter curls.
-
Leave the braids in for several hours or overnight.
-
Unbraid your hair, separate the curls with your fingers, and enjoy the relaxed waves or defined curls.
Sock Curls
Material Used: Clean socks
Steps:
-
Dampen your hair and apply some curl-enhancing cream.
-
Divide your hair into sections and roll each section around a sock.
-
Tuck the ends of your hair inside the sock, then tie the sock securely.
-
Let your hair dry for several hours or overnight.
-
Once your hair is dry, remove the socks and gently pull apart the curls.
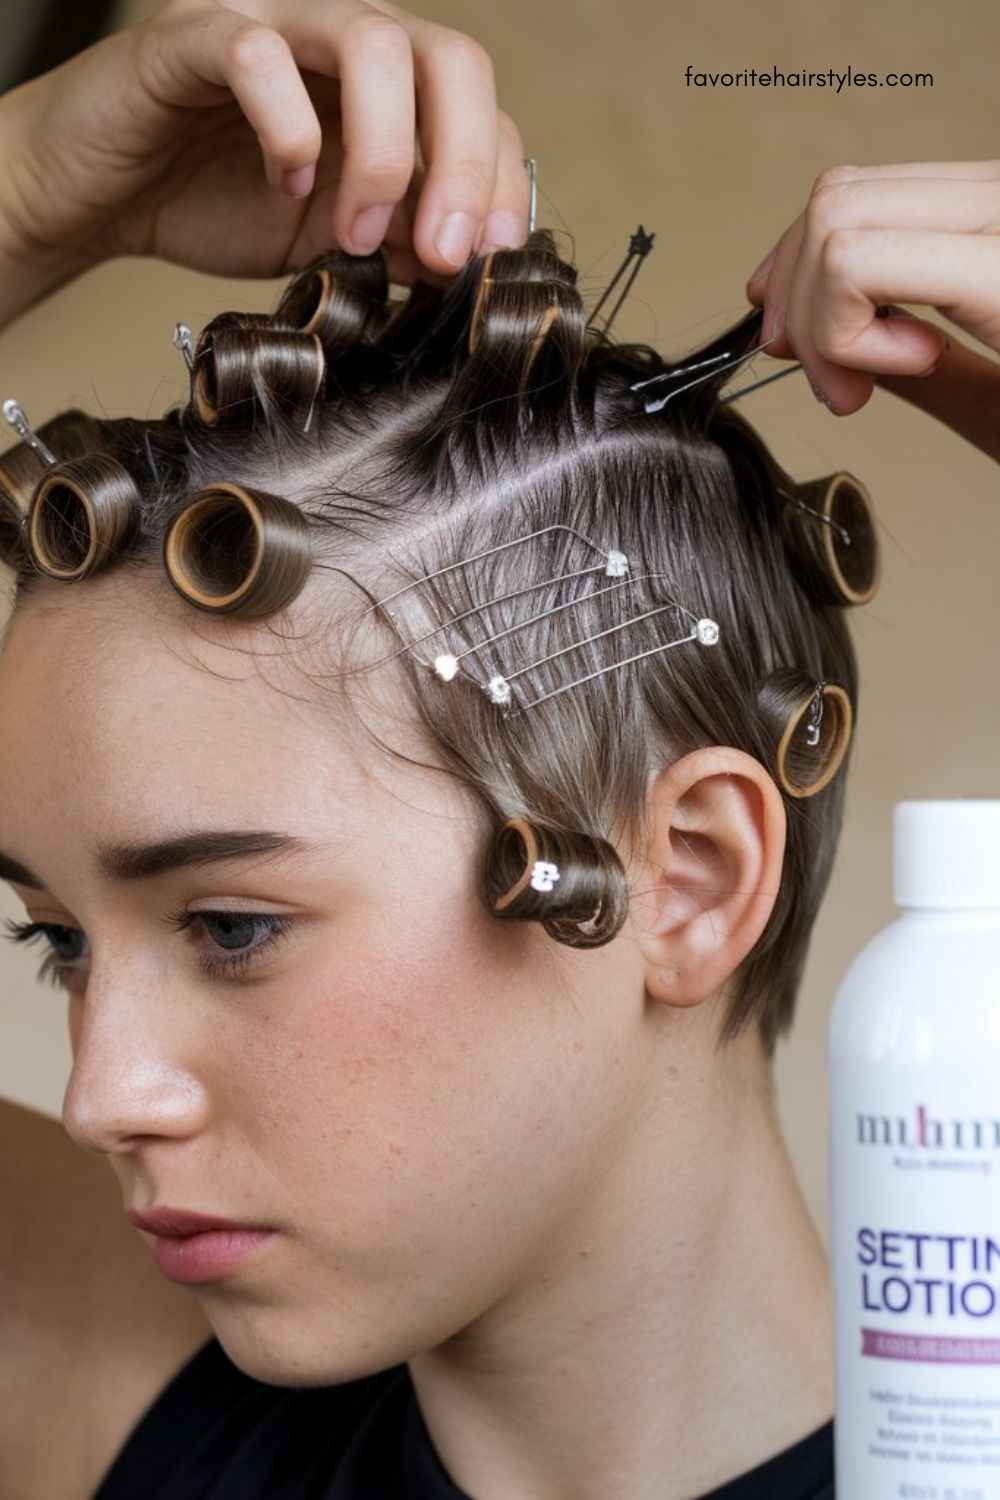
Perm Rods
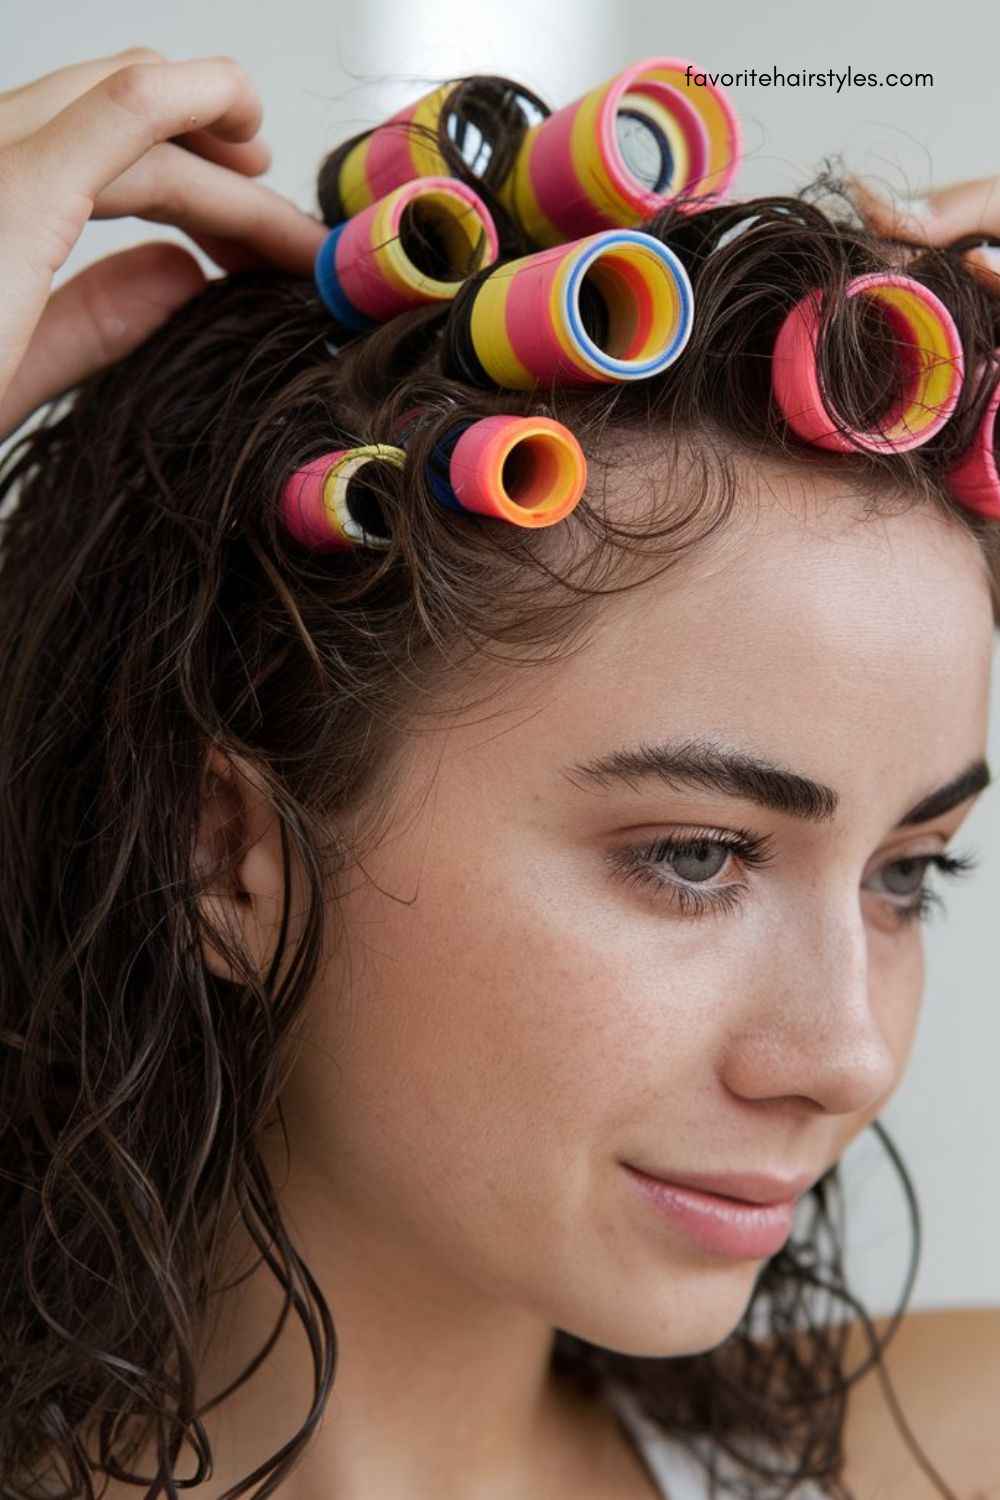
Material Used: Perm rods, setting spray
Steps:
-
Start with damp hair and apply a setting spray to hold curls.
-
Section your hair and wrap each section around a perm rod.
-
Secure the rod by snapping the ends in place.
-
Let the rods set for several hours or overnight.
-
After removing the rods, finger-comb through your curls for a natural, bouncy look.
Twist and Curl

Material Used: Hair clips, styling gel
Steps:
-
Apply styling gel to damp hair to give it extra hold.
-
Divide your hair into small sections and twist each section tightly.
-
Roll each twisted section into a small spiral and secure it with a clip.
-
Allow the twists to set for a few hours or overnight.
-
Unravel the twists and finger-comb for perfect curls.
Pin Curling
Material Used: Bobby pins, setting lotion
Steps:
-
Start with damp hair and apply setting lotion for better curl hold.
-
Section your hair and roll small sections into tight pin curls.
-
Secure each curl with a bobby pin.
-
Allow the curls to set for several hours or overnight.
-
After removing the pins, separate the curls gently for defined volume.
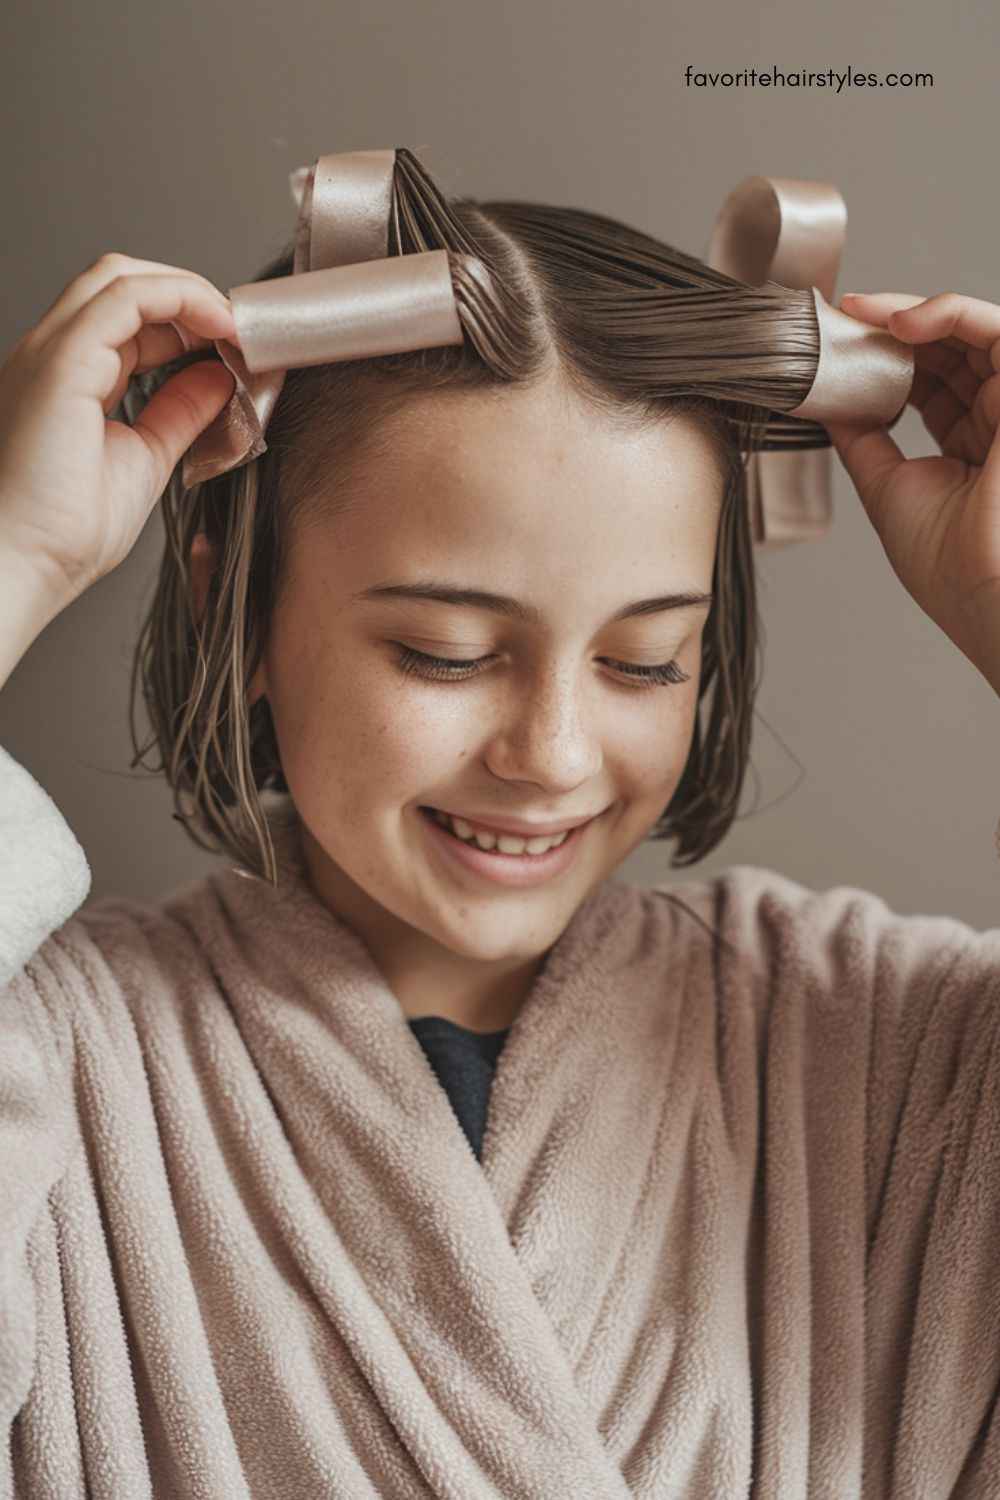
The T-Shirt Method
Material Used: Soft cotton T-shirt

-
Start with damp hair and apply a curl-enhancing product.
-
Lay the T-shirt flat and divide your hair into sections.
-
Twist each section of hair and then wrap it around the T-shirt fabric, securing it with a knot.
-
Leave your hair wrapped for a few hours or overnight.
-
Once your hair is dry, gently release the twists for natural, bouncy curls.
These heatless methods not only help you achieve the curls you want but also ensure that your hair stays healthy and damage-free. Try different techniques to see which one works best for your short hair and enjoy stunning curls without the need for heat!
Tips for Best Results
To get the most out of your heatless curls for short hair, it’s important to prep properly, use the right products for your hair type, and follow a few simple tips to maintain curl definition and prevent frizz. These small details can make a big difference in how your curls turn out and how long they last. Whether you’re going for soft waves or tight spirals, follow these best practices for flawless, long-lasting curls.
-
Prevent Frizz and Maintain Curl Definition
-
Start with clean, slightly damp hair for better curl hold and less frizz.
-
Use a microfiber towel or cotton T-shirt to dry your hair instead of a rough towel.
-
Apply a curl-enhancing cream, mousse, or anti-frizz serum before setting your curls.
-
Avoid touching your curls too much once they’ve set—use your fingers or a wide-tooth comb only if needed.
-
Finish with a light hairspray or shine spray to hold the shape and reduce flyaways.
-
-
Best Products for Different Hair Textures
-
Fine Hair: Lightweight mousse or volumizing foam to add bounce without weighing hair down.
-
Thick Hair: Cream-based curl definers or gels for strong hold and control.
-
Wavy Hair: Sea salt spray or curl cream for enhancing natural waves without stiffness.
-
Curly Hair: Leave-in conditioners and curl puddings to moisturize and define curls while preventing frizz.
-
-
How to Sleep with Heatless Curls Comfortably
-
Use a silk or satin pillowcase to reduce friction and frizz overnight.
-
Secure curls loosely with a silk or satin scarf or bonnet to maintain shape without flattening them.
-
If using rods or rollers, choose soft foam ones that are easy to sleep in.
-
For twisted or braided styles, make sure they’re not too tight—comfort is key for a restful night.
-
Following these tips will help your heatless curls look their best and last longer, while keeping your short hair healthy, shiny, and full of life.
FAQ
Do heatless curls really work on short hair?
Yes! Heatless curls can work beautifully on short hair with the right technique. Whether your hair is chin-length or slightly longer, there are several methods—like twist and pin, flexi rods, or bantu knots—that create defined, bouncy curls without heat.
How long do heatless curls last on short hair?
With proper prep and product use, heatless curls can last 1 to 3 days. Using a curl-enhancing cream, setting spray, or mousse and sleeping with a satin scarf or pillowcase helps extend the life of your curls.
Should I curl my hair when it’s wet or dry?
It’s best to start with damp (not soaking wet) hair. Hair that’s slightly damp is easier to shape and will dry into the curl pattern more effectively. Fully wet hair may take too long to dry and could result in limp curls.
What’s the easiest method for beginners?
The headband method or twist and pin technique is great for beginners. They’re simple, require minimal materials, and are comfortable to sleep in.